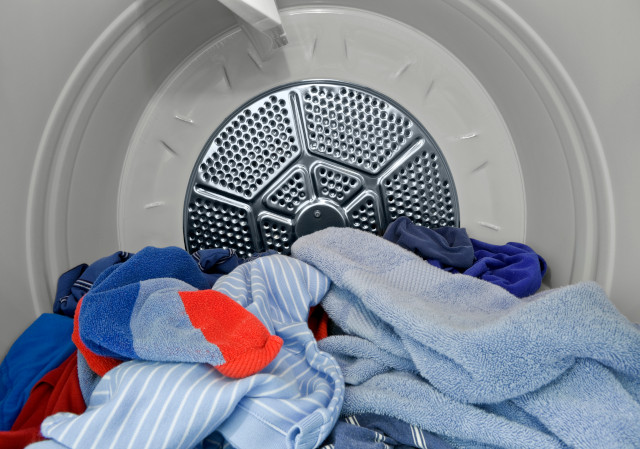
Hi, I was searching for an answer to the same question. Did not find an answer. Got adventurous. This is what I did: 1 - unplug dryer from the wall (since you probably need to pull the dryer out, it is a good time to clean the dryer vent [Note: It is cheaper to replace than to buy a cleaning kit]). 2 - Remove two screws on lower front of dryer. 3 - swing front dryer panel outward/upward about 18 inches, the panel loosely hinges at two points on the top of the front panel. 4 - push top of front panel rearward 1/2 inch to release the top of the panel. 5 - There are 3 electrical leads attached to the door panel, which you need to remember where they go on the door switch. Mark and unhook the door switch electrical leads. (you don't have to remove the leads if you pivot the front panel out of your way to your left to get inside. 6 - get a vacuum cleaner and clean out all the lint. ---- Now you can see the front workings of the dryer, including the lint collection front drum cradle, and the heating element. To access the rear of the dryer, remove the lower back panel of the dryer. It will give you access to the motor, belts, pulleys, support wheels. My dryer was squeaking intermittantly. The noise was driving me crazy. My wife's complaining about it, not the squeak itself. : ) Just kidding. I have a great wife! The squeak was coming from the front of the drum. The drum basically cradles in a channel lined with leather pads. I sprayed powdered graphite onto the drum surface that rides on the front cradle and the squeak went away. Yea. This all took me about 20 minutes. A tip on re-assembly. 1 - Position the panel just as it was when the top hinge released, with the bottom about 18 inches out. 2 - When you get the front panel door into position, be gentle with the top allignment. You could chip the porcelain. 3 - There are two hinge clips on the top of the panel that need to go in behind the lip of the top framing. 4 - If the panel is not centered (make sure both sides are smooth with the side of the dryer) it is difficult to get those two bottom screws back in. Pretty easy stuff. Good Luck. One final note. A kinked exhaust vent is the #1 cause of poor dryer performance. Make sure you are using the shortest length of hose to prevent kinking when you slide the dryer back into place. I figured I saved $150 by trying this repair myself.... More beer money. : )
Jim R.
September 2006
 howtomendit.com for free repair help, information and advice.